
How We Built This Stepping Stone Walkway in Missouri City
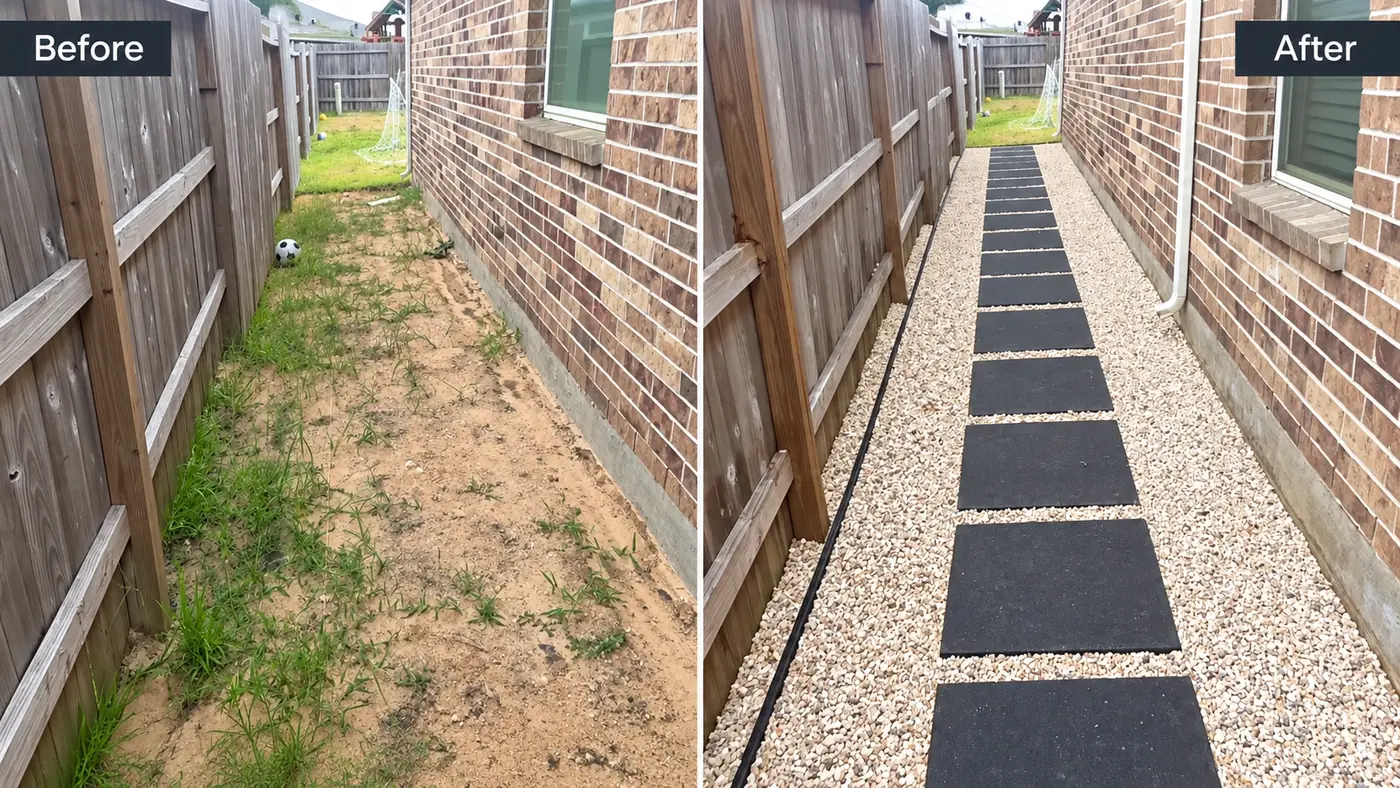
We were out in Missouri City, Texas, installing a stepping stone walkway with decorative gravel. I’m going to walk you through how we transformed the area, from digging out the ground and preparing the base to laying the stepping stones and finishing everything off with rock glue.
A lot of the work that goes into a project like this happens before you ever start laying stones. Getting the slope right, making sure you have enough room for your base, and keeping everything straight makes a big difference in how the finished walkway turns out.
Project Details
Preparing the Yard for the New Walkway
The first step before starting any project like this is finding the slope. We wanted the top of the stepping stones to be flush with the grass.
Our stepping stones were 2 inches thick, and we needed another 2 inches for the base. That meant we had to dig down 4 inches to make enough room for everything.
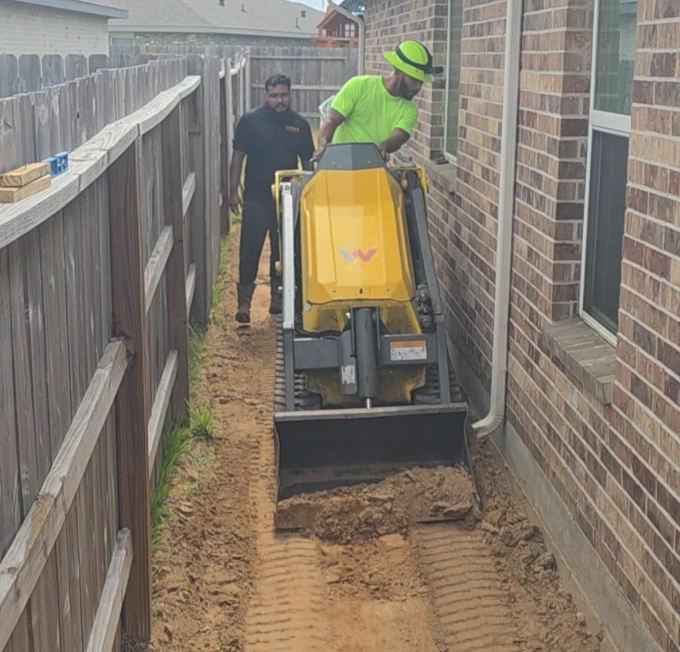
When you’re doing the demolition, you don’t necessarily have to rent a mini skid steer. You can get away with using a pickaxe, shovel, and wheelbarrow, and you should be fine.
Once we finished the rough demo, we set up string lines from one side to the other to make sure we were digging out enough material. We set our string line at the desired level, right around the height of the grass, and used that to check our excavation depth.
I like using a metal rake when I’m grading. I’ll use the flat side of the rake along with a tamper to work down any high areas. I want to make sure we’ve dug out the full 4 inches so we have enough room to backfill with decomposed granite.
Building a Solid Base with Decomposed Granite
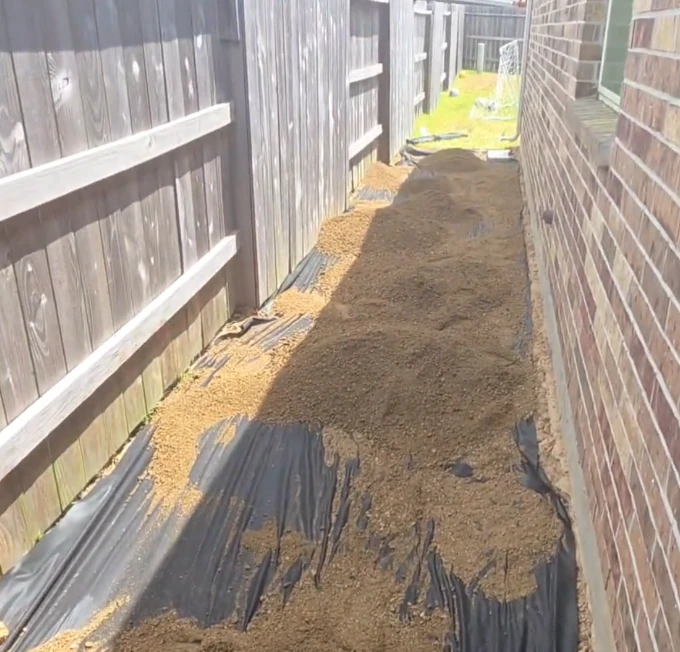
Once everything was graded and tamped down, we laid down landscape fabric and started bringing in the decomposed granite.
How much decomposed granite you need depends on your slope and terrain. You can use anywhere from 2 to 4 inches, depending on the project.
After putting down a good amount, we used our rake to spread everything out.
It’s usually around this stage that I decide to install the edging. You can use 2×4s, 1×4s, metal edging, or whatever works for the project. I like doing this before we finish leveling everything out.
For this walkway, we installed wood edging along the fence. This helps prevent gravel from going into the neighbor’s yard and gives everything a clean edge.
Where the boards joined, we used additional pieces of wood to connect them with screws.
One thing I recommend is staining and sealing your wood early in the project. That way, by the time you’re ready to install it, everything has had time to dry.
Once the edging was in place and the base was spread out, we checked everything with a level to make sure it was nice and even.
Why We Measured from the House Instead of the Fence
When it came time to lay the stepping stones, we needed to make sure they were all in a straight line.
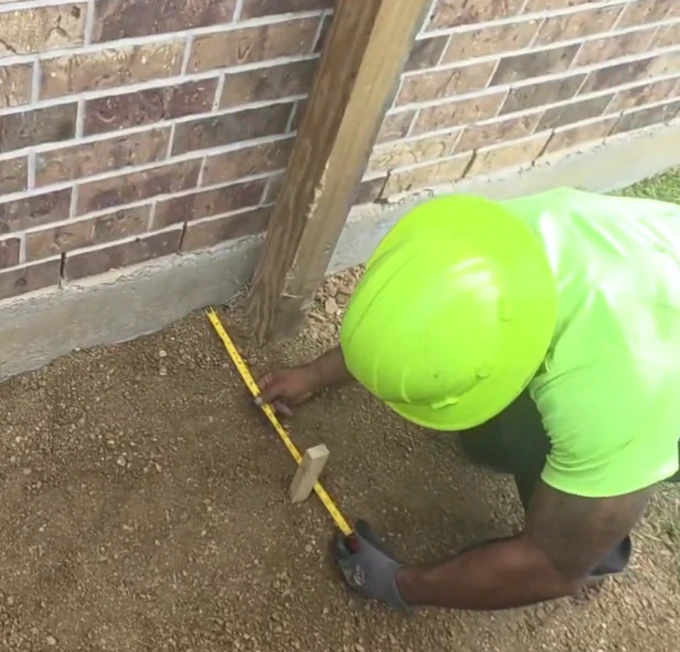
We found the middle of the area between the foundation of the house and the fence. From there, we measured out where the edges of our stepping stones needed to go.
I like to get all my measurements from the foundation of the home because it’s usually the straightest line.
If you look at the line of a fence, it’s not always that straight. That’s why I prefer going off the house foundation to make sure our walkway stays straight all the way down.
Once we had our measurements, we ran a string line down the walkway.
I also like to put my stakes outside the area where we’re working. If you put a stake right in the walkway, it can block people from coming in and out. Keeping it outside gives us more room to maneuver.
After pulling the string tight and setting it to our final height, we could use it to see exactly where we needed to adjust our stepping stones.
The string line shows us where the top of each 24×24-inch stepping stone needs to be.
Every couple of stepping stones, I pull out the level again to make sure everything is sitting right.
I also like to space each stepping stone about 3.5 inches apart, which is roughly the width of a 2×4. That makes it easy to keep the spacing consistent throughout the walkway.
These stepping stones are really heavy, so I definitely recommend having someone help you lay them down.
Once they’re set properly, they’re not going anywhere.
Finishing the Walkway and Keeping the Gravel in Place
Once we had all the stepping stones laid out and the spacing was even, we started adding the decorative gravel.
When spreading the top gravel, you can use a shovel or a brush. I personally like using a brush because the gravel slides right off the stepping stones, making it easier to spread everything around them.
One step you don’t want to forget is compacting all the gravel throughout the entire area.
After compacting everything, we washed the walkway down.
Gravel comes with a lot of residue and dust from the stone yard. You want to wash all that off before applying your rock glue. If you apply glue while everything is dirty, that dust can stick to the stepping stones and become extremely difficult to remove.
Once everything was leveled, straight, compacted, and washed, we were ready to apply the rock glue.
For this project, we used Texpert rock glue, mixed one part glue to one part water.
I recommend waiting about 15 to 20 minutes after washing everything down to give the gravel time to dry. You want it dry so the rock glue bonds properly with the gravel.
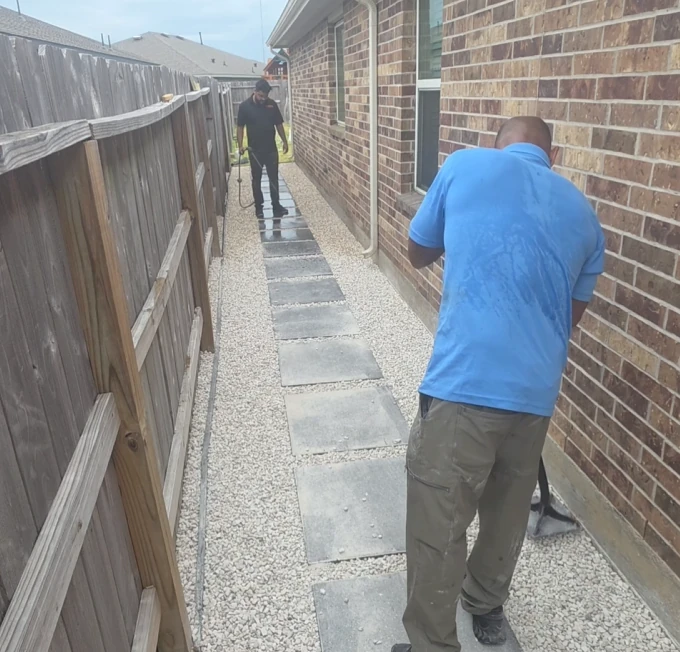
The Finished Stepping Stone Walkway
And there you have it. That’s what our gravel walkway looked like once everything was said and done.
We started by digging out the area, getting our slope and base right, and laying down the decomposed granite. Then we lined everything up using the foundation of the house, installed our stepping stones with even spacing, and finished it off with decorative gravel and rock glue.
For anyone thinking about doing a similar project, I’d pay close attention to your base preparation, measurements, and compaction. Those are some of the most important parts of getting everything to look right.
And if you build your gravel pathways differently than we do, there are always different ways to approach a project like this. These are the methods I like using and what worked for us on this installation in Missouri City.